
Tip & Trick
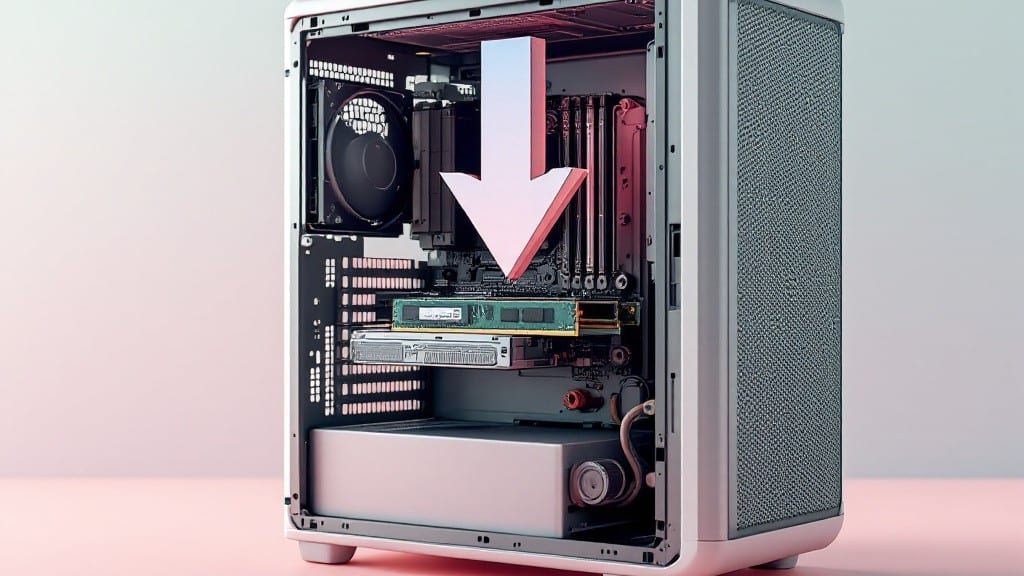
Installing RAM in a desktop PC isn’t scary—my nephew did it last month with just a screwdriver and five minutes of patience. The key is matching your RAM to the motherboard slots and avoiding static electricity.
I’ve seen people force modules or skip compatibility checks, and that’s how you brick a $2,000 build. This guide skips the guesswork and shows you exactly where to press and how to confirm it works.
First, power down your PC and unplug it completely. You’ll need your RAM modules (check they’re the same type), a Phillips screwdriver, and maybe a rubber bracelet for static discharge. Modern motherboards have slots labeled A2/B2—these are the primary pairs.
Push the clips outward gently, then align the notch on the RAM with the slot’s groove. Don’t force it; if it resists, you’re misaligned.
Once seated, the clips should snap shut with a satisfying click. Boot up and enter BIOS (usually F2 or DEL) to confirm the new RAM shows up. If not, reseat the modules or check your motherboard manual for slot compatibility.
My first build had me swap slots twice before it worked—now I laugh about it, but back then, I was sweating.
Common mistakes? Over-tightening clips, mixing RAM speeds, or ignoring the manual’s slot order. Pro tip: If your PC won’t boot, remove the RAM and try one stick at a time. Works every time. Now go upgrade that system—your games (and spreadsheets) will thank you.
📚 In This Guide
- What you need
- Instructions
- Tips and common mistakes
- Wrapping up and next steps
What you need
- ● RAM module(s): Ensure compatibility with your motherboard (check specs for DDR4/DDR5, speed, and capacity—e.g., 16GB DDR4-3200MHz).
- ○ Anti-static wrist strap (optional but recommended): Prevents static damage to components (or use an anti-static mat).
- ○ Phillips-head screwdriver (small, flat-head optional): For securing RAM clips or case panels.
- ● Flashlight or headlamp: Helps spot tight slots or small clips.
- ○ Compressed air (optional): Clears dust from RAM slots or heatsinks.
- ● Motherboard manual (digital/physical): For slot locations and RAM configuration rules (e.g., dual-channel pairing).
- ● Power off your PC and unplug the power cable—safety first!
- ● Ground yourself by touching the case or using an anti-static wrist strap.
- ● Work on a clean, flat surface (avoid carpets or static-prone areas).
Step-by-step instructions for installing RAM in a desktop PC
Here’s the foolproof method I use—no tools required, just patience and careful handling.
Power Down and Ground Yourself
Start by shutting down your PC completely and unplugging the power cable. I always wait 30 seconds after unplugging to let any residual charge drain from the motherboard. This prevents static electricity from damaging sensitive RAM modules.
Before touching the motherboard, ground yourself by touching the metal chassis or using an anti-static wrist strap if you have one. Static discharge can fry RAM modules, even if they look fine afterward. Take your time here—rushing leads to mistakes.
Locate and Open the RAM Slots
Open your PC case by removing the side panel. Most cases use thumbscrews or quick-release latches. The RAM slots are typically near the CPU, labeled DIMM slots or memory slots. They look like long, rectangular sockets with a clip on either end.
If your motherboard has multiple slots, check the manual for the optimal pairing. For example, slots A2 and B2 are often the best pair for dual-channel performance. Don’t force anything—if a module doesn’t slide in smoothly, you’ve likely got it oriented wrong.
Align and Insert the RAM Module
Hold the RAM module by its edges—never touch the gold contacts. Align the notch on the module with the corresponding gap in the slot. The notch ensures proper orientation; forcing it in without alignment can bend the pins.
Press down firmly and evenly until you hear a click and feel the clips snap into place. The module should sit flush with the motherboard. If it doesn’t click, remove it and reinsert it carefully. No wiggle room means it’s seated correctly.
Verify Installation and Boot Up
Close the case and reconnect the power cable. Power on the PC and enter the BIOS or UEFI setup (usually by pressing Delete, F2, or F12 during boot). Look for the RAM capacity and speed—it should match the specs of your installed modules.
If the system doesn’t recognize the RAM, reseat the module or check for bent pins. Some motherboards require specific slot combinations for full functionality. If all else fails, test the RAM in a different slot or with a single module to isolate the issue.
Tips & tricks for perfect RAM installation
Even with no tools, these small details make all the difference between a smooth installation and a frustrating one.
Static Protection: I can't stress this enough—static electricity is RAM's worst enemy. After those 30 seconds of waiting post-unplug, touch the metal chassis repeatedly before handling anything. I've seen perfectly good RAM modules fail because someone skipped this step. If you don't have an anti-static wrist strap, just touch the case every few seconds while working.
Slot Pairing Strategy: Most motherboards use dual-channel architecture, meaning slots A2 and B2 work best together for performance. Always check your motherboard manual for the optimal pairing—it's usually marked right on the board. I learned this the hard way when my first dual-channel setup ran in single-channel mode because I ignored the manual's recommendations.
Notch Alignment: That tiny notch on the RAM module isn't just for looks—it ensures perfect alignment with the slot. If you feel resistance while inserting, stop immediately and check the orientation. I've bent pins trying to force a module in without realizing it was upside down. Take your time here; it's better to pause and verify than risk damaging expensive components.
Verification Process: When testing your RAM in BIOS, look for both capacity and speed to confirm proper installation. If only one module shows up when you installed two, try reseating them individually first. I've had cases where one slot was slightly misaligned, causing the second module to not be recognized. The BIOS will also show if your RAM is running at its advertised speed or if there's a compatibility issue.
Pro Tips for Install Ram In A Desktop Pc
- Even with no tools, these small details make all the difference between a smooth installation and a frustrating one.
- Static Protection: I can't stress this enough—static electricity is RAM's worst enemy.
- Slot Pairing Strategy: Most motherboards use dual-channel architecture, meaning slots A2 and B2 work best together for performance.
Frequently asked questions
Got questions about upgrading your RAM? You’re not alone! Here are some of the most common concerns—and their straightforward answers—to help you tackle the job with confidence.
Do I need to turn off my PC to install RAM?
Yes! Always power down your computer, unplug the cable, and press the power button to discharge any residual energy. Safety first—static electricity or accidental power surges can fry your RAM or motherboard.
Can I mix different RAM brands or speeds?
Technically, yes, but it’s risky. Your PC will run at the slowest speed of the mismatched sticks, and some brands may cause stability issues. For best performance, stick to the same brand, speed (MHz), and type (DDR4/DDR5) as your existing RAM.
What if my RAM slots are already full?
Check your motherboard manual for dual-channel configuration—most modern boards pair slots (e.g., 1+3 or 2+4). If all slots are occupied, you’ll need to remove existing RAM (start with the oldest sticks) or upgrade to higher-capacity modules.
My PC won’t boot after installing RAM. What now?
First, reseat the RAM—gently press down until the clips click. If it still fails, test one stick at a time in Slot A1 (usually the first slot). If the PC boots, the other stick may be faulty. (Pro tip: Check BIOS for RAM detection after rebooting.)
Is it worth upgrading RAM for gaming?
RAM upgrades boost multitasking (e.g., gaming + streaming) and improve performance in RAM-heavy games like Cyberpunk 2077 or Fortnite. Aim for 16GB (DDR4) or 32GB (DDR5) for modern titles. (Check your GPU too—balance is key!)
Wrapping up and next steps
Installing RAM in your desktop PC is simpler than you think—no tools required! By following these steps carefully, you’ll boost your system’s performance without stress. Remember, compatibility and patience are key to avoiding mistakes.
Now that you’re ready to upgrade, why stop here? Next, explore how to optimize your new RAM for gaming, multitasking, or creative projects—your PC’s next-level performance awaits! 🚀